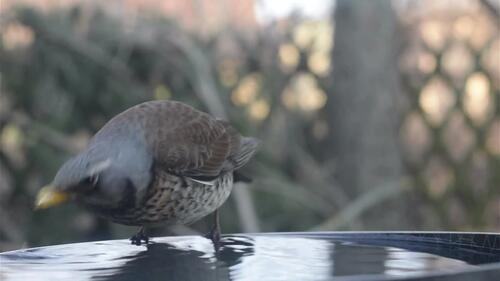
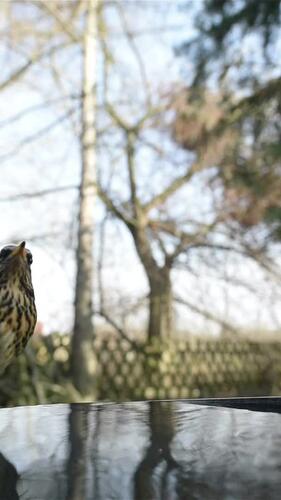
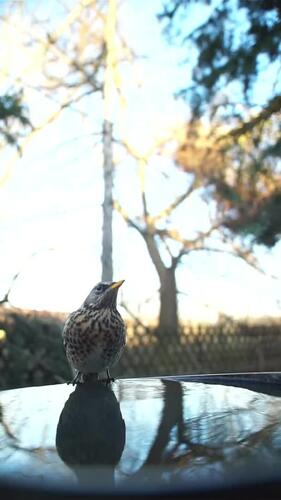
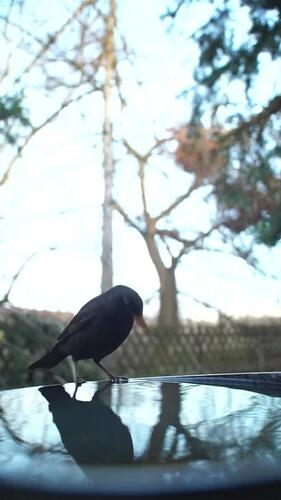
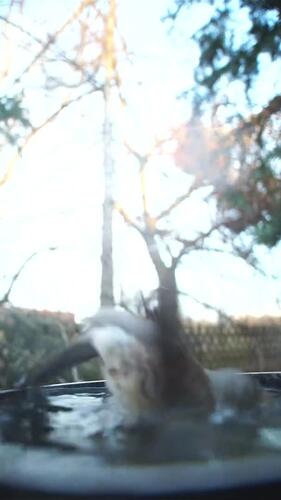
The weather is slowly getting better, so much so, that singing birds have appeared in the yard. I have an old pan outside filled with water for them that they use regularly. For a long time now I wanted to capture some quality videos of them using it, as I did a few years back with an old camera phone and some off-the-shelf camera motion detection software coupled together with OBS. It worked, but the quality was bad, it used tons of CPU resources and I couldn’t touch the machine, as it worked through keyboard shortcuts.
Since then I acquired a cheap USB HDMI capture card that allows me to connect my cameras to OBS, giving much better quality and finer control. It is so good, that it’s worth fixing the motion detection part now.
How does it work?
OBS
OBS includes a WebSocket server out of the box since version 27. It allows complete remote control and getting preview images from the software, so it’s perfect for this project.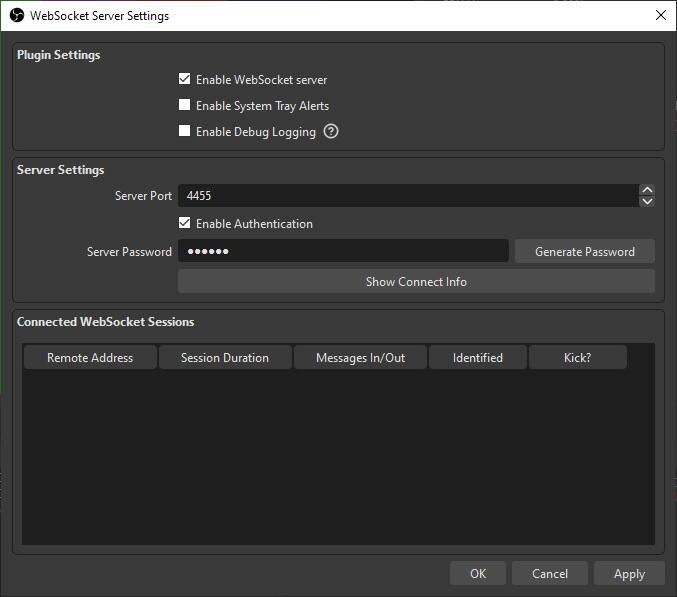
It also includes a Replay Buffer feature, which allows continuous recording until a trigger is applied. This allows recording the scene before the detection actually happens.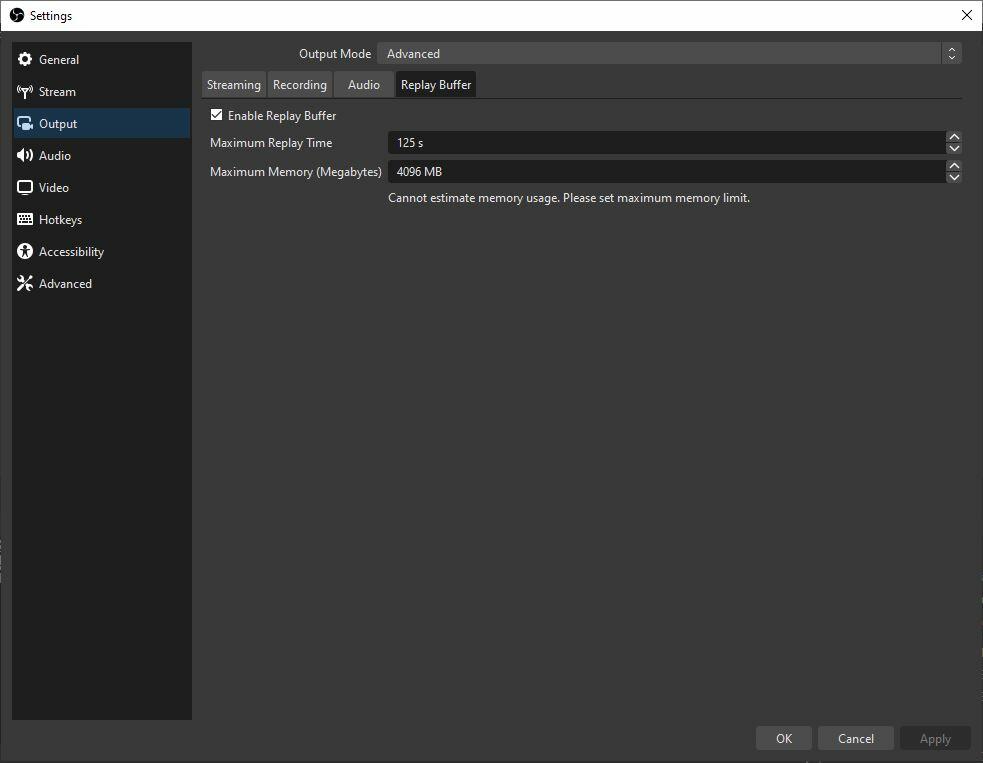
The recording part is pretty standard, for reference only, here are my settings. This is with the new NVENC on an NVidia 3060 Ti.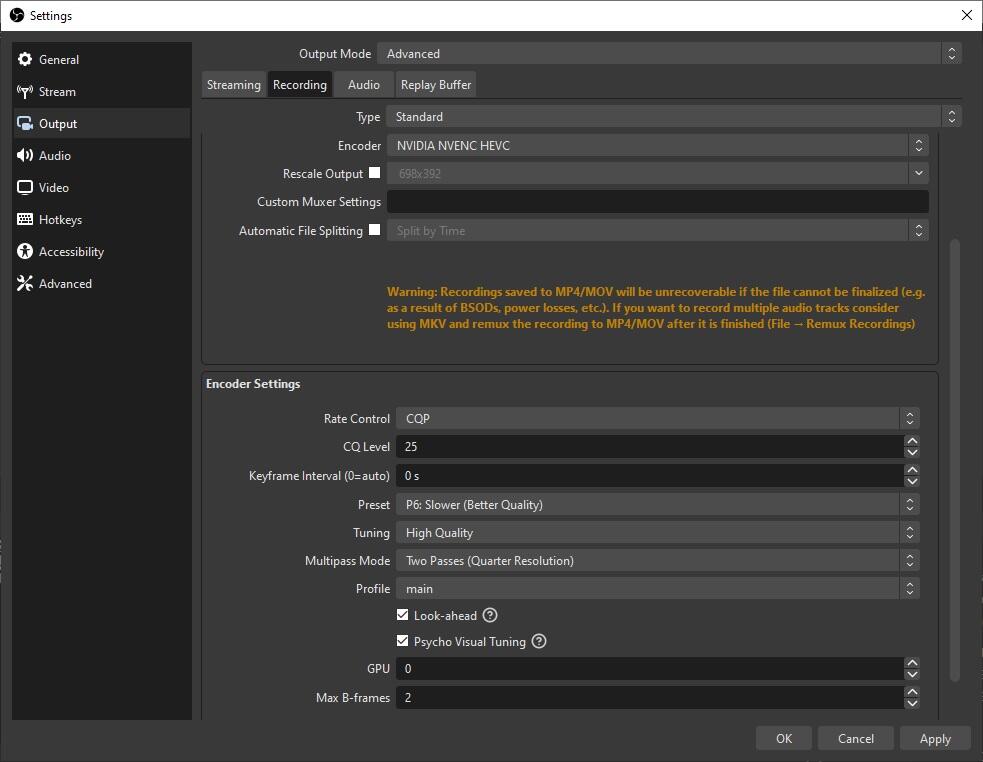
My code
The code requests preview images through the WebSocket server every imageInterval seconds. When the image arrives, it is converted to grayscale and transformed into an OpenCV Mat through OpenCV-JS. This allows arbitrary operations on the image and its components. When the next image arrives it is subtracted from the previous one, leaving only the differences. The difference values are summarized and divided by the image resolution, giving a normalized, quantified value. This value gets pushed into an array with a length of avgSize. When the array gets filled to its size, the code calculates the standard deviation of all values and compares it to the current image deviation. If the difference is larger than motionLimit, the detection triggers and the Replay Buffer gets saved after saveAfter seconds.
These are all changeable parameters at the beginning of the code
1 | const wsAddress = '127.0.0.1:4455'; // OBS Websocket address |
How to try?
First and foremost you need to have NodeJS and NPM installed. Head over to their website, it should just take a couple of clicks to install. Except if you’re on Linux, but then you know what to do.
Then you need my code, which is available here on GitHub.
I included a couple of examples (well, 19 of them) captured with this code. The videos were captured with a Nikon D3300/Sony A5000 through one of those cheap HDMI capture cards, a Helios 81N (first few) and a Samyang 16mm f/2 (new lens, I’ll write about this at a later time).
